A solar eclipse is such a rare and captivating phenomenon; it’s only natural to want to capture it in a sequence of photographs.
However, when shooting a solar eclipse, even the lowest ISOs and fastest shutter speeds result in overexposed, blown-out images that fail to reflect the fascinating process.
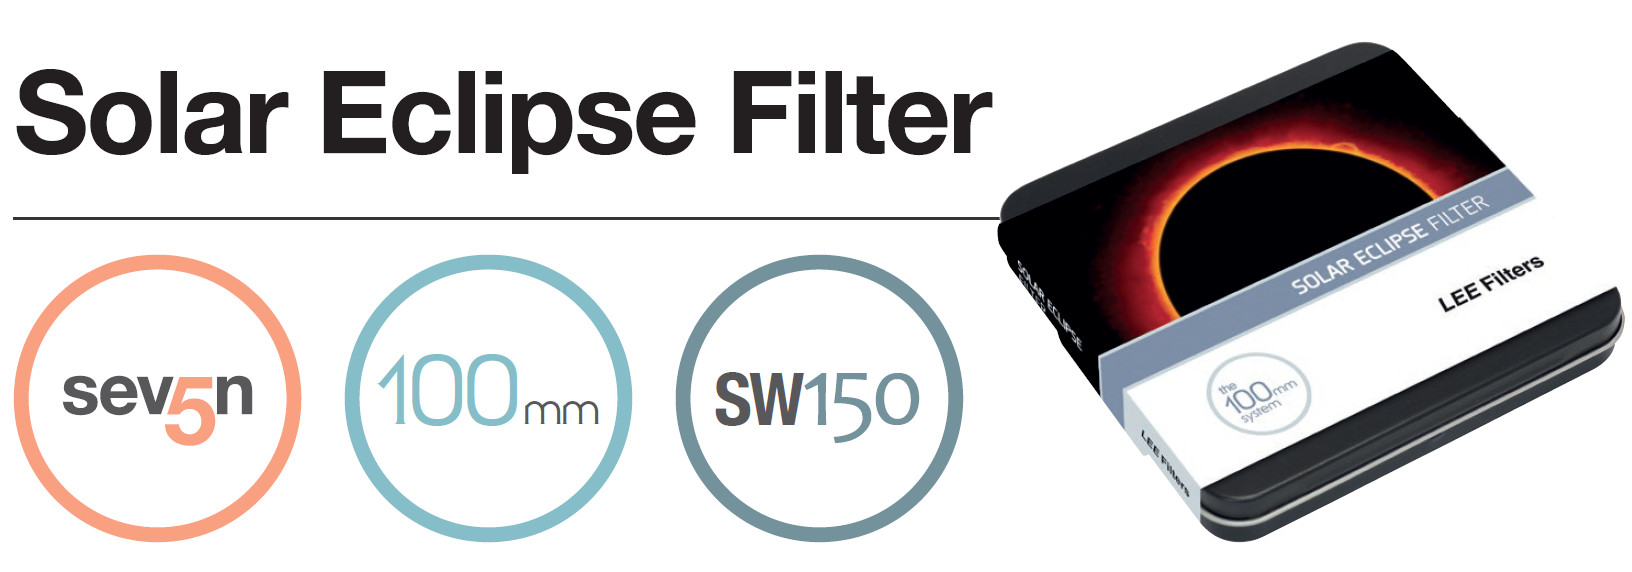
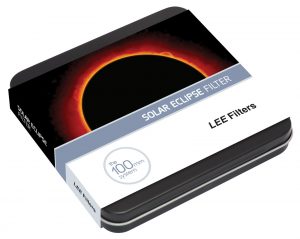
As a result, a very strong, specialised filter is required in order to bring the exposure range down to manageable levels. This is where the Solar Eclipse Filter from LEE Filters comes in.
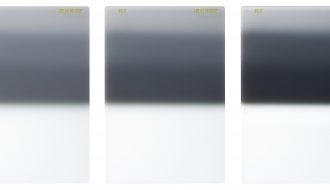
Available for the Seven5, 100mm and SW150 systems, the filter simply slots into the standard LEE Filters holder and you are ready to shoot.
Prior to the event, we recommend following one of the many online guides to shooting an eclipse and practicing in advance in order to calculate your exposures and ensure the best possible results.
The solar eclipse filter is designed solely for simple photography of solar eclipses or the surface of the sun. It is NOT suitable for general long-exposure landscape photography. It is also NOT
intended as a viewing filter for solar events. Never look through the filter directly at the sun, as there is a risk of severe eye damage.
How to use the Solar Eclipse Filter:
- It is vitally important to avoid looking directly at the sun. To avoid any potential damage to eyes, use live view or an electronic viewfinder to both to set up your composition and to watch the
progress of the eclipse. (The camera should be switched off or live view disabled when not viewing or taking photographs, as damage to the sensor is possible even with a filter in place.)
- Switch your lens to manual focus and set it to infinity. This will prevent the lens from hunting once the filter is in place.
- Slide the Solar Eclipse Filter into the holder. To avoid light leaks, the filter must be placed into the slot closest to the lens, with the foam seal facing the camera’s backplate
- Your starting exposure should be approximately 1/800sec at f/8 (ISO 800). Initially test the filter in clear conditions and bracket to find which exposure gives the best results.
- Use the Solar Eclipse Filter during the partial phases of the eclipse, but remove it during totality, otherwise your images will be underexposed.
- After totality, the filter can be replaced to continue photographing as the moon moves clear of the sun.
- As the Solar Eclipse Filter has been designed to filter out some of the sun’s harmful infrared rays, it is very blue in colour. This cast can be corrected in post production, or images converted to black and white.